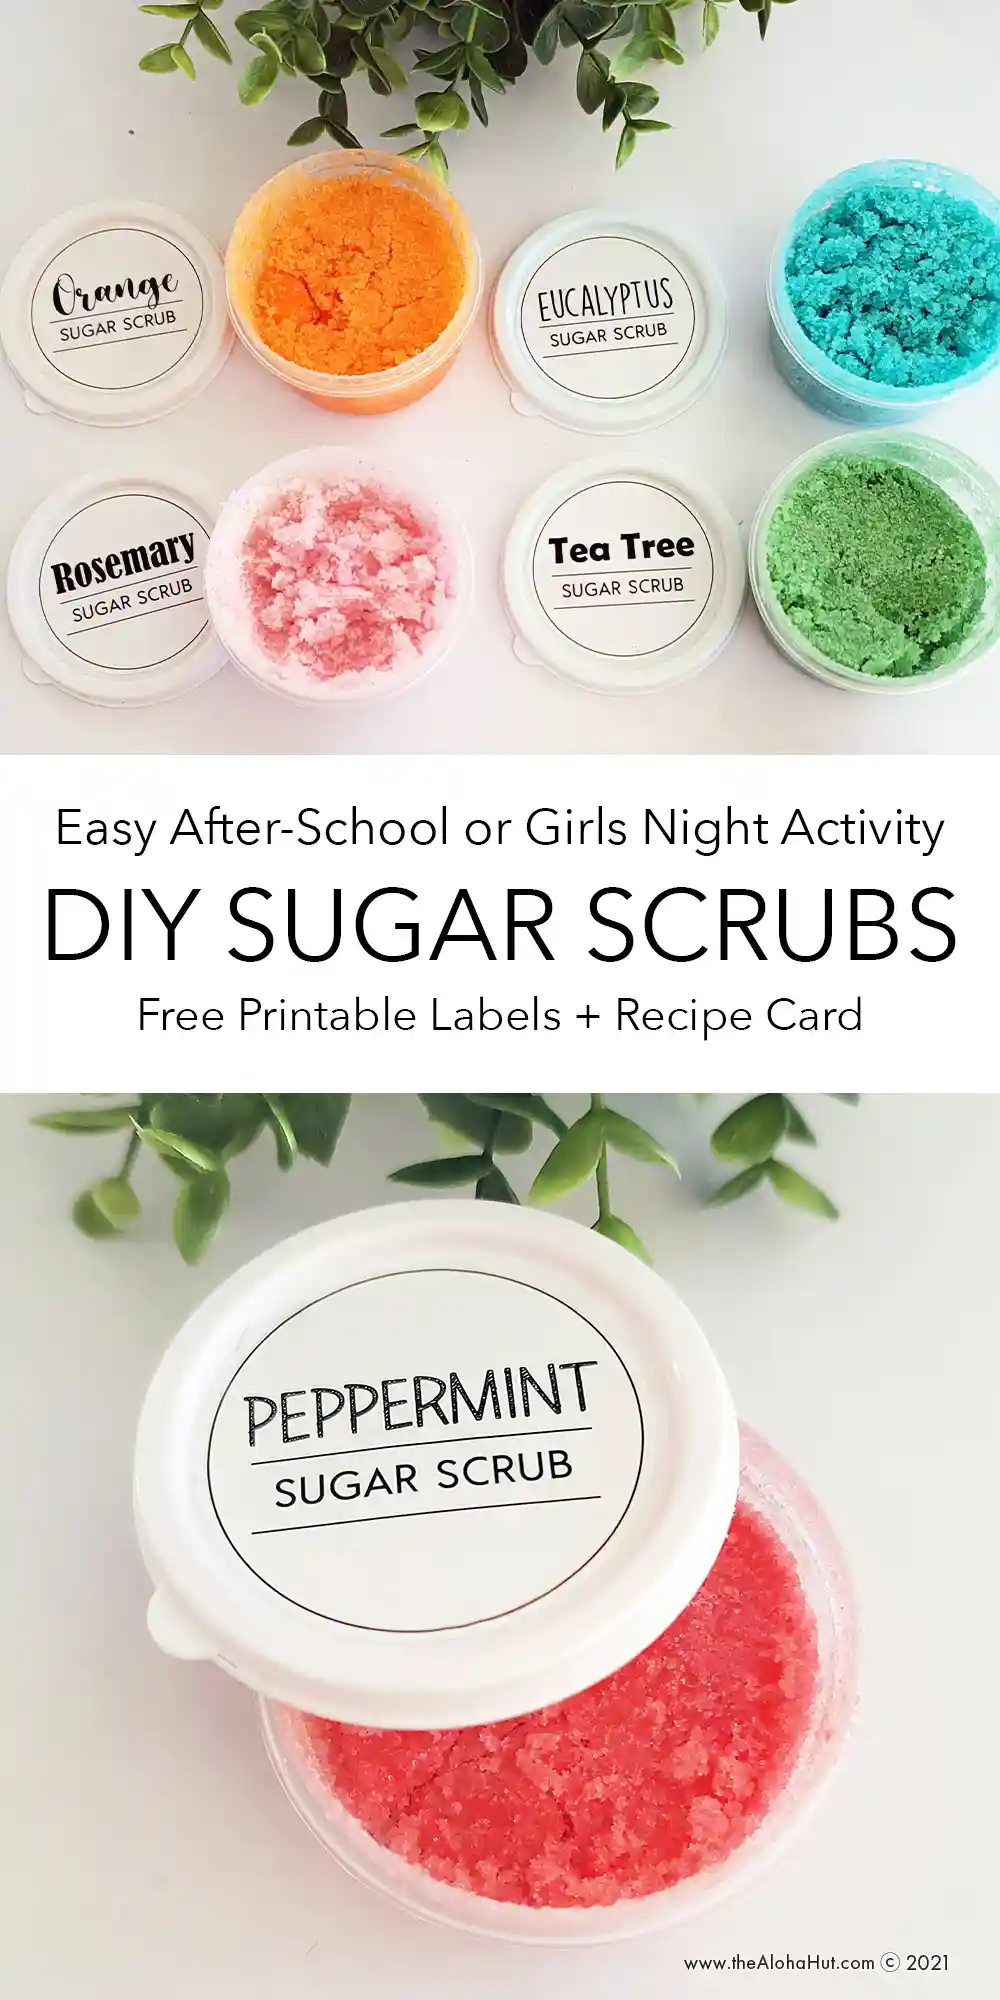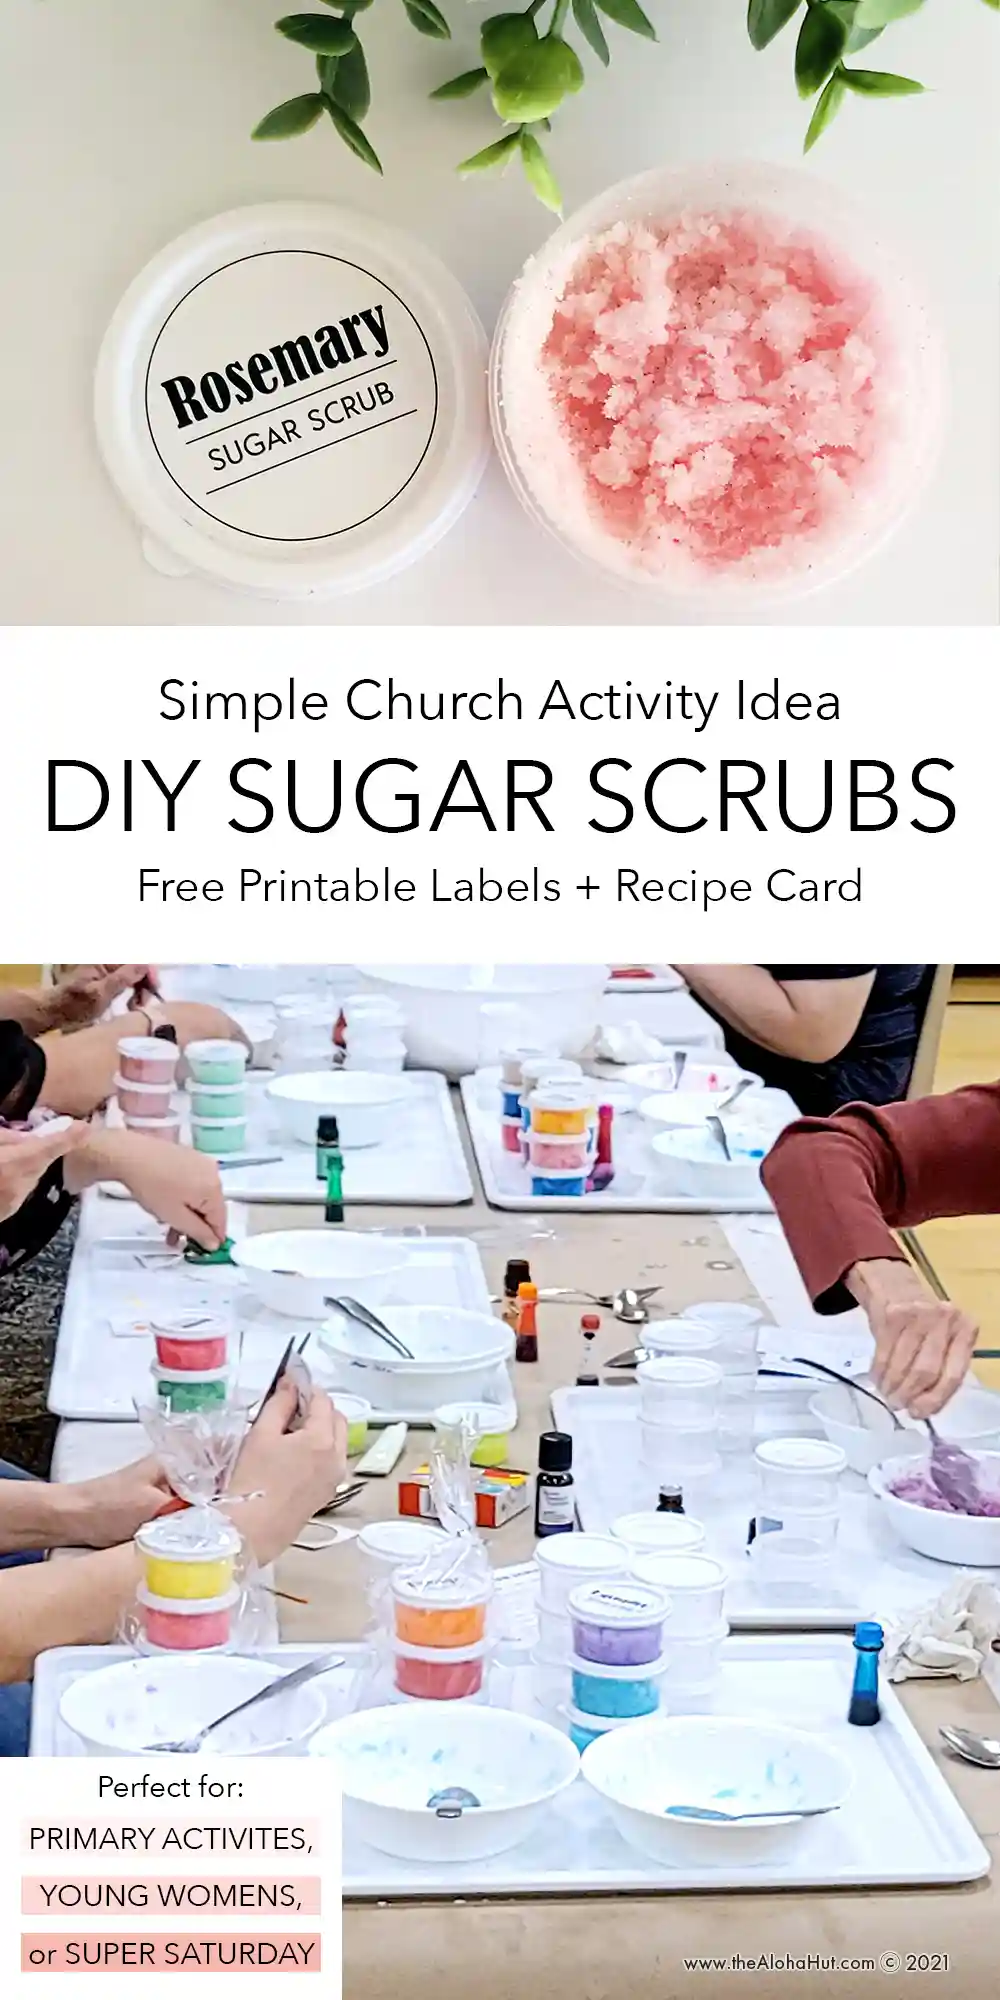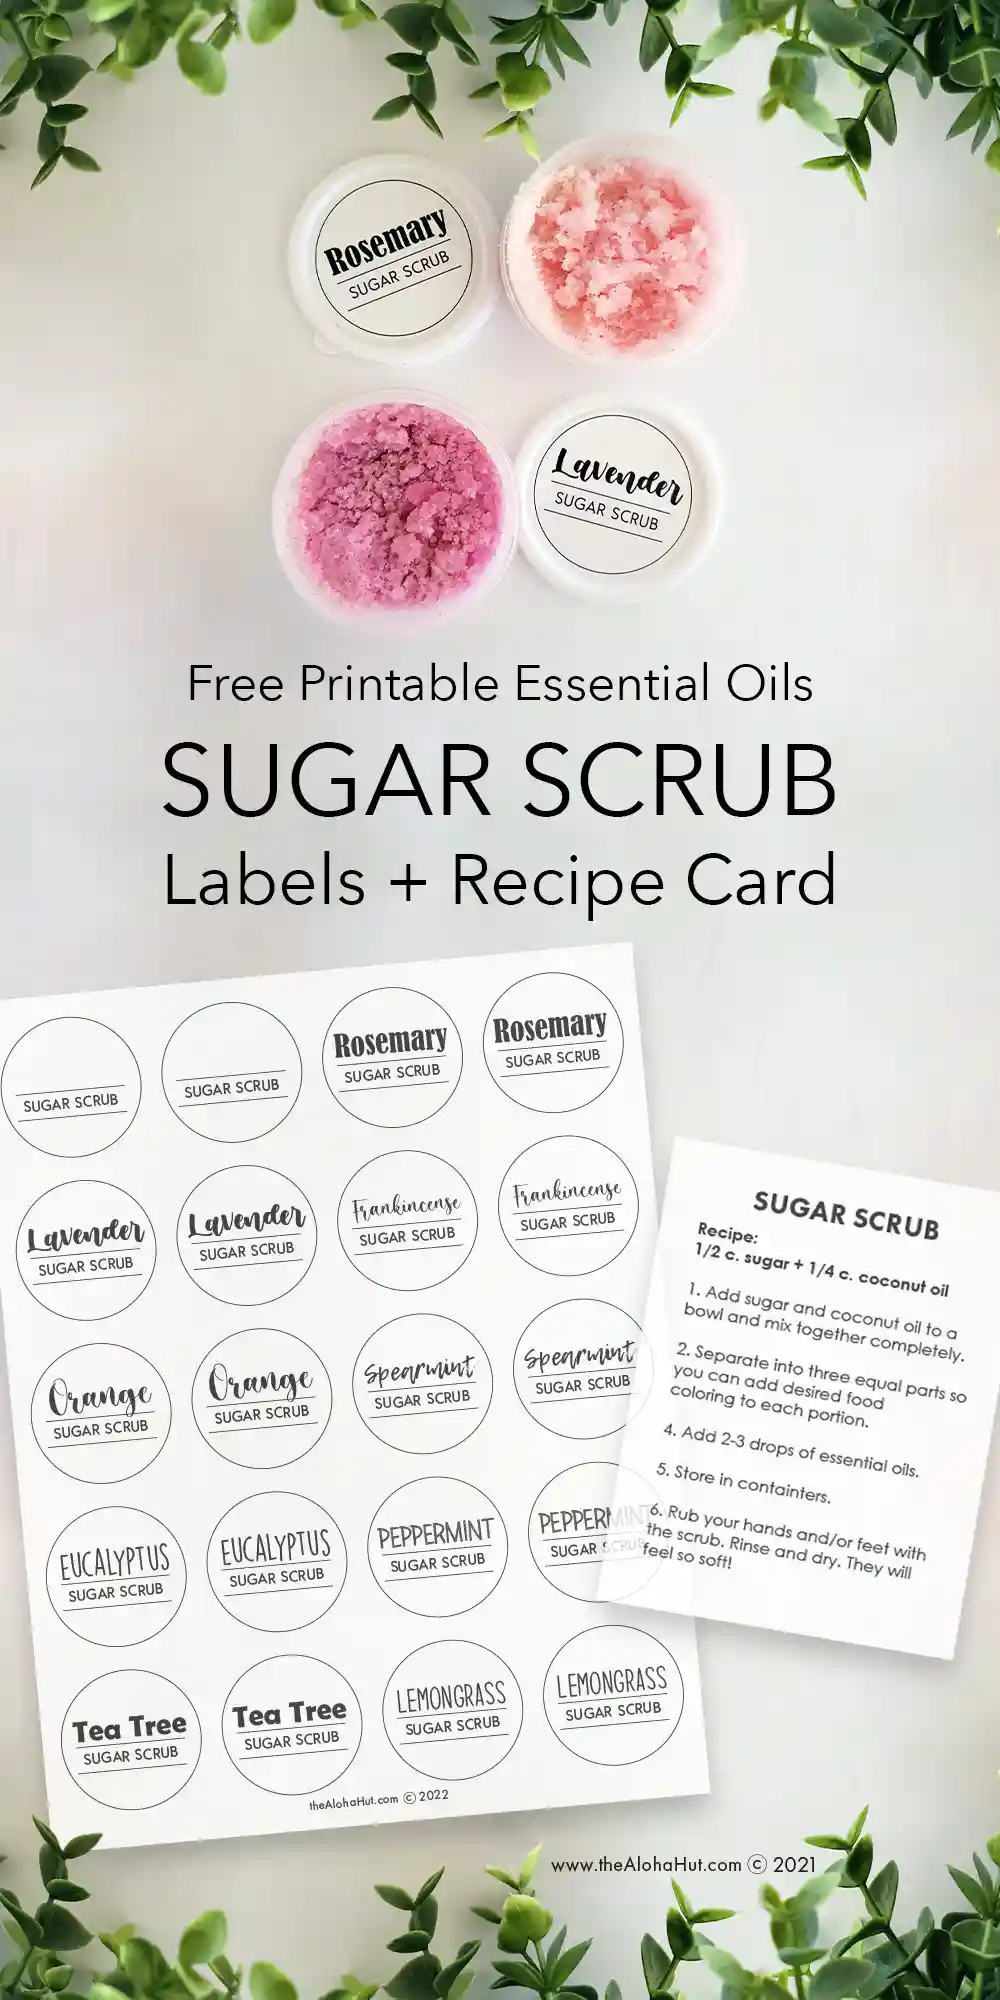
Looking for a craft or activity for your next girls night or spa night? Or ideas for a Super Saturday activity? Maybe your kids are having friends over. Whatever the event, these simple and inexpensive DIY essential oils sugar scrubs are so much fun to make. They make the perfect Christmas or teacher gift too! We’ve made them at multipe parties and activities and they’re always a hit. You only need a few ingredients. Add our DIY sugar scrub labels to finish them off nicely. Read on for the recipe and to find the free printable.
Sugar scrubs are so good for your skin. They help exfoliate your dead skin cells leaving you with smoother, more glowing skin. They also double as a moisturizer since they’re made with oil. We love sugar scrubs and the best part is they’re super easy (and fun) to make!
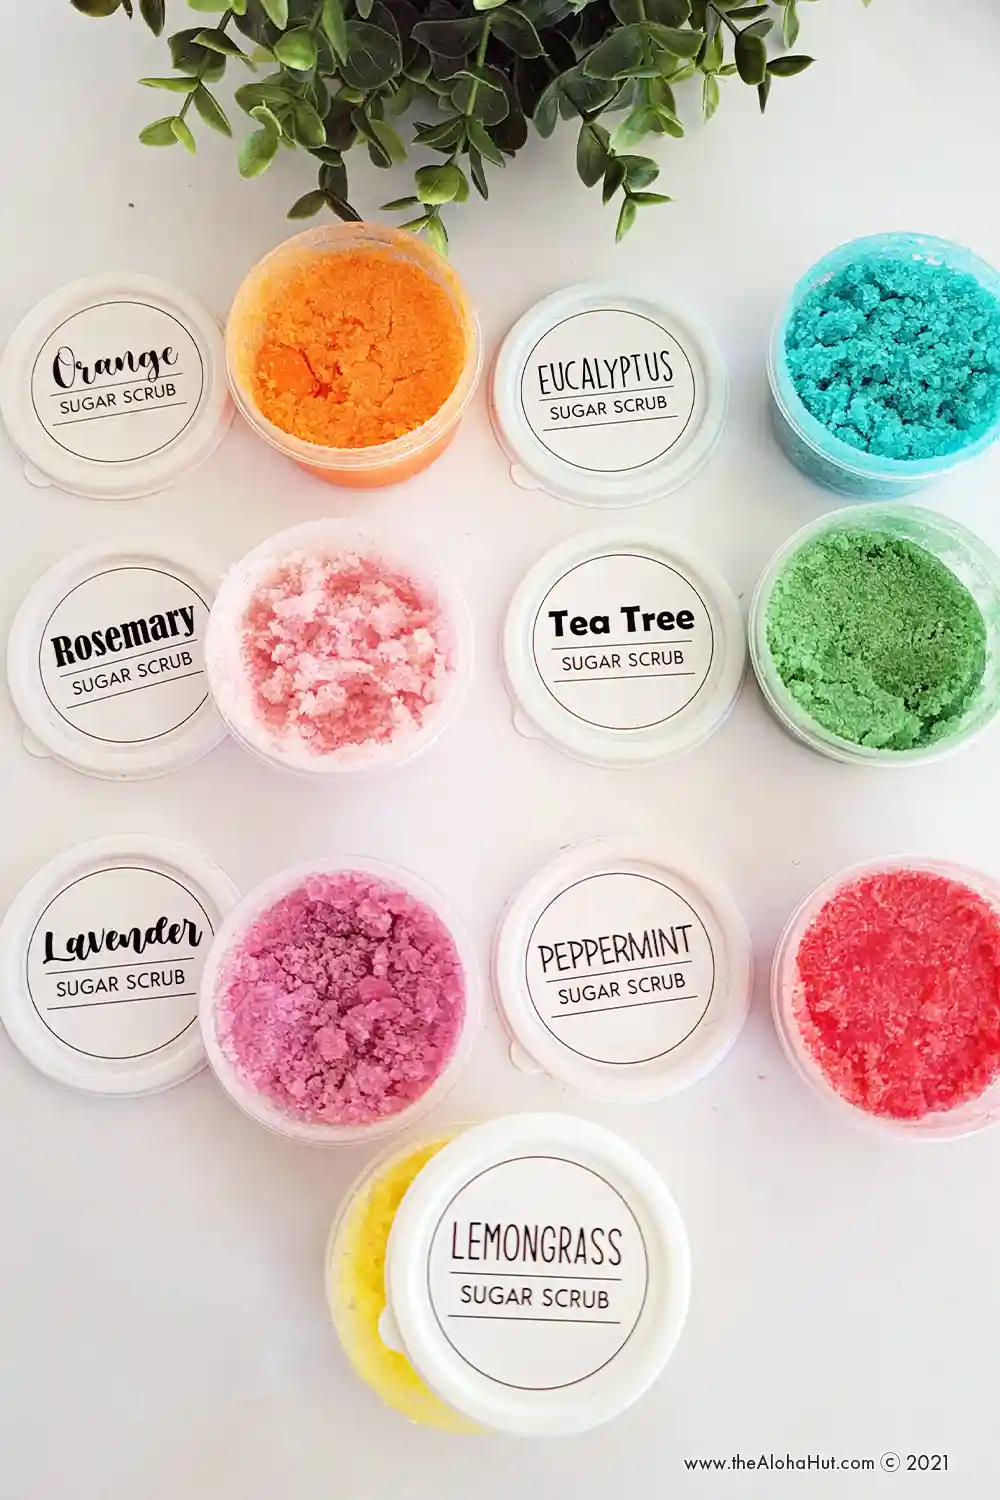
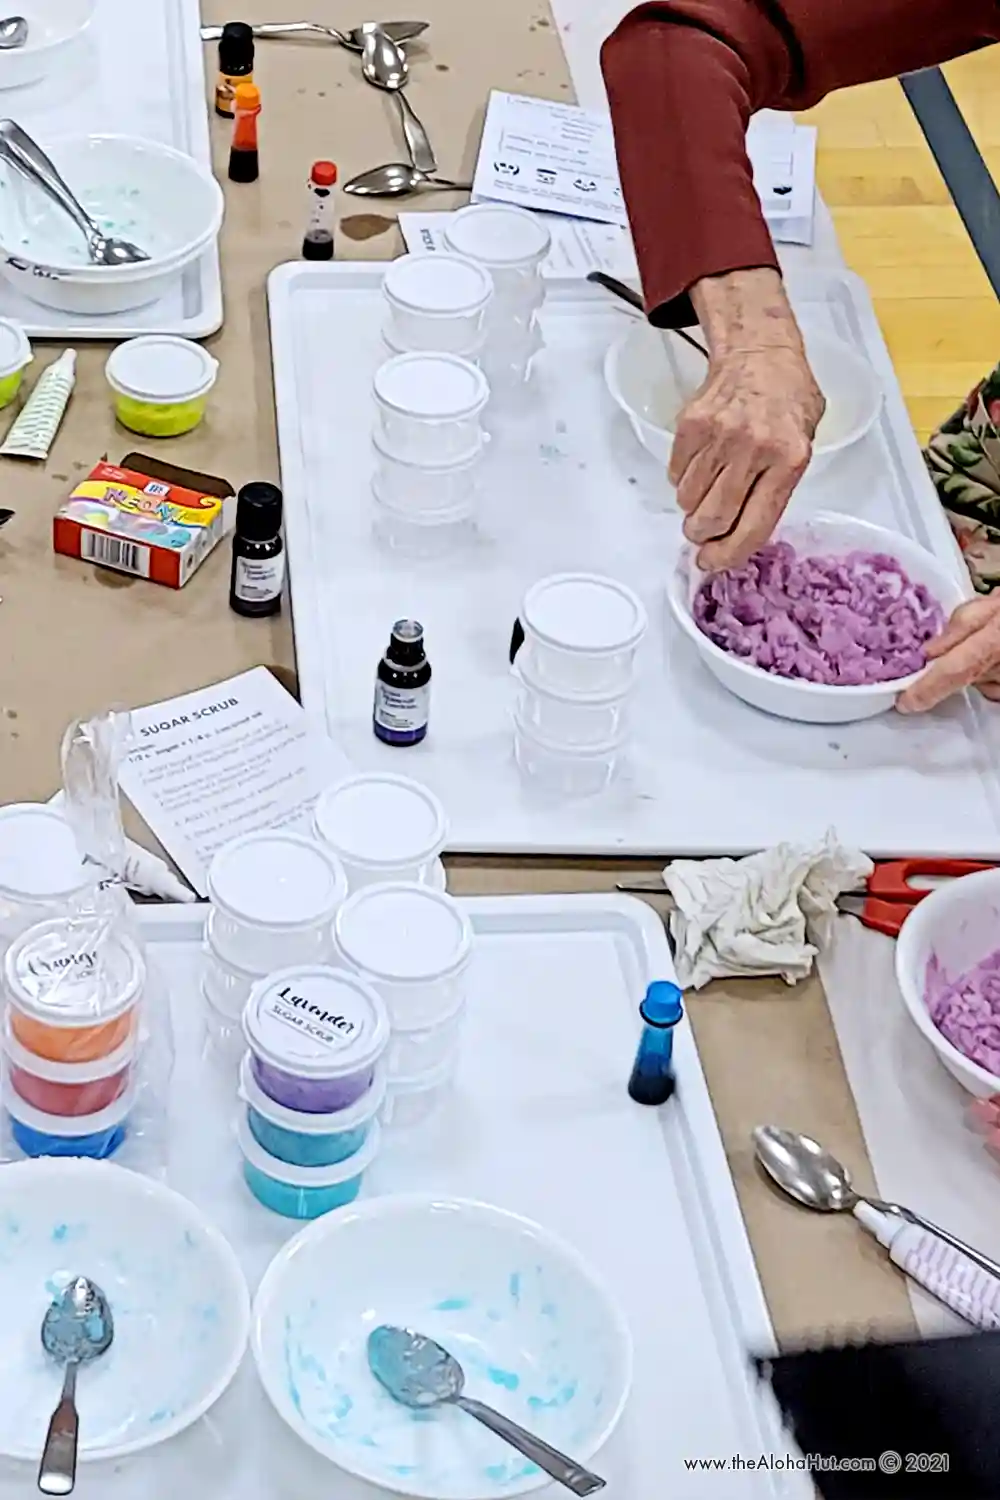
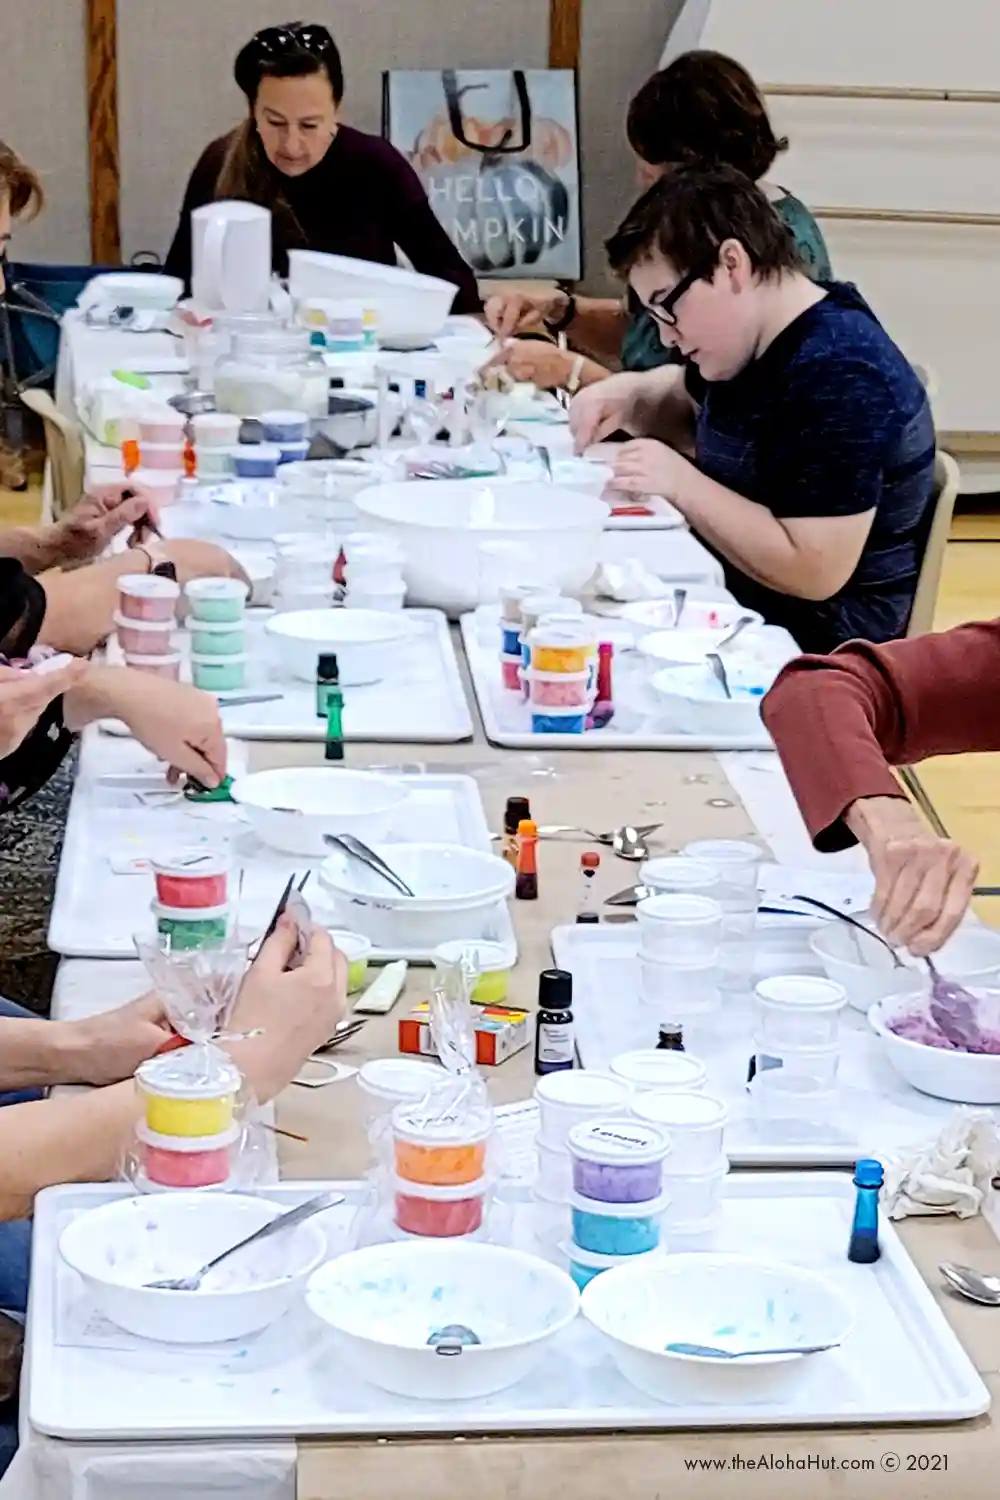
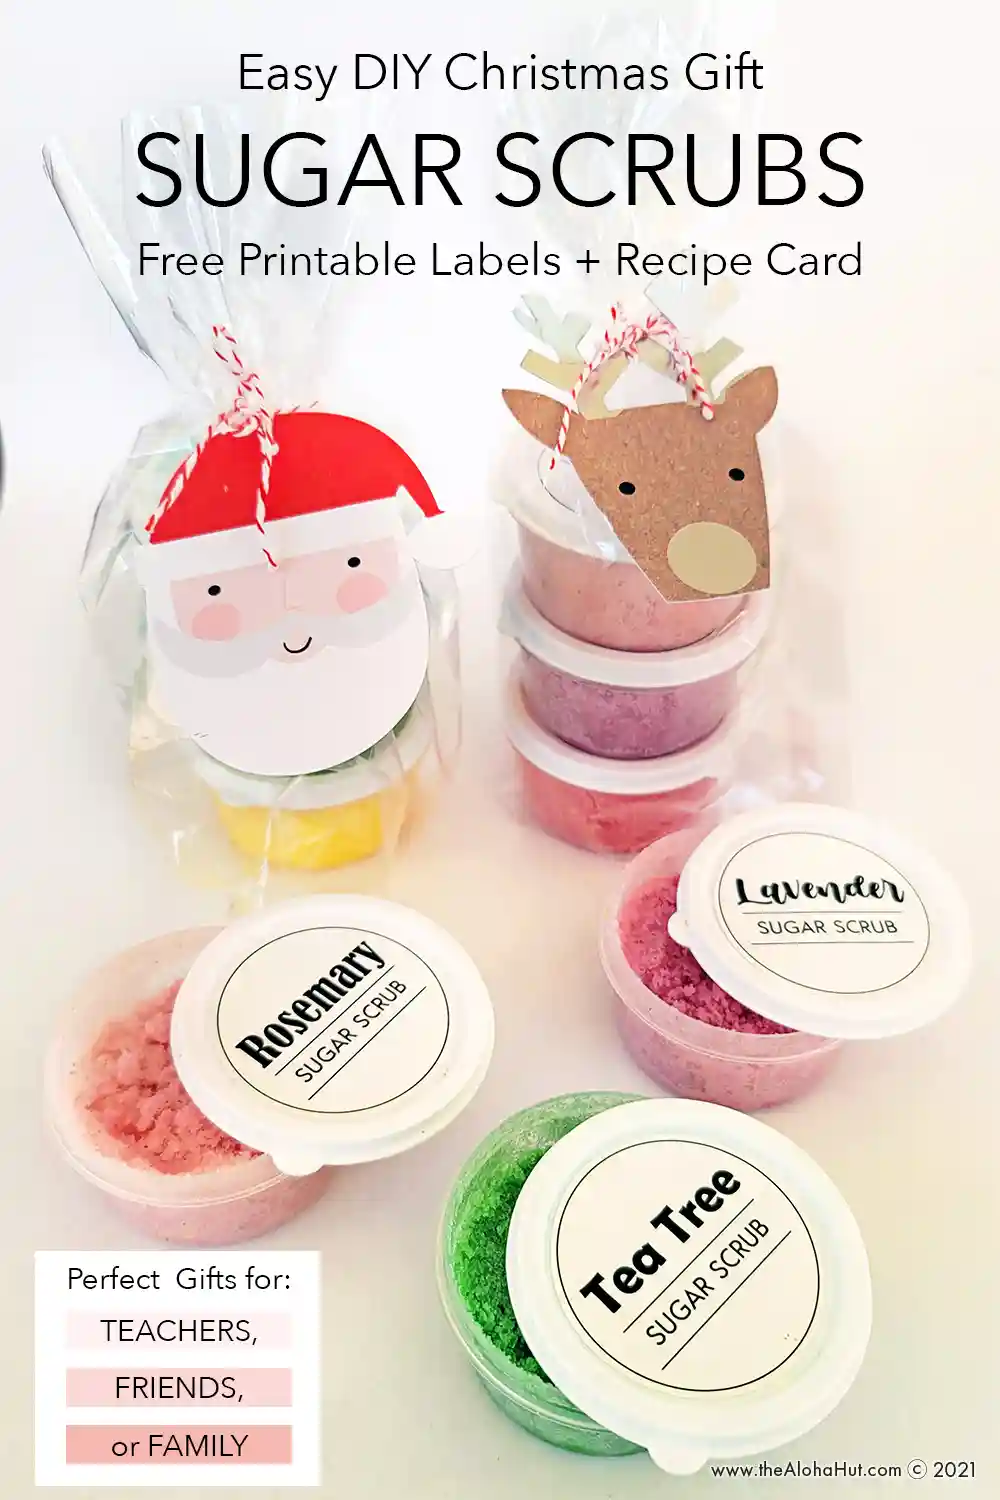
If you’re looking for a great DIY Christmas or Thank You gift for friends, family, teachers, and/or neighbors — homemade sugar scrubs are a great option! They are also the perfect activity for a girls craft night or a Super Saturday activity idea. We made them at our last church Super Saturday activity and they were a huge hit.
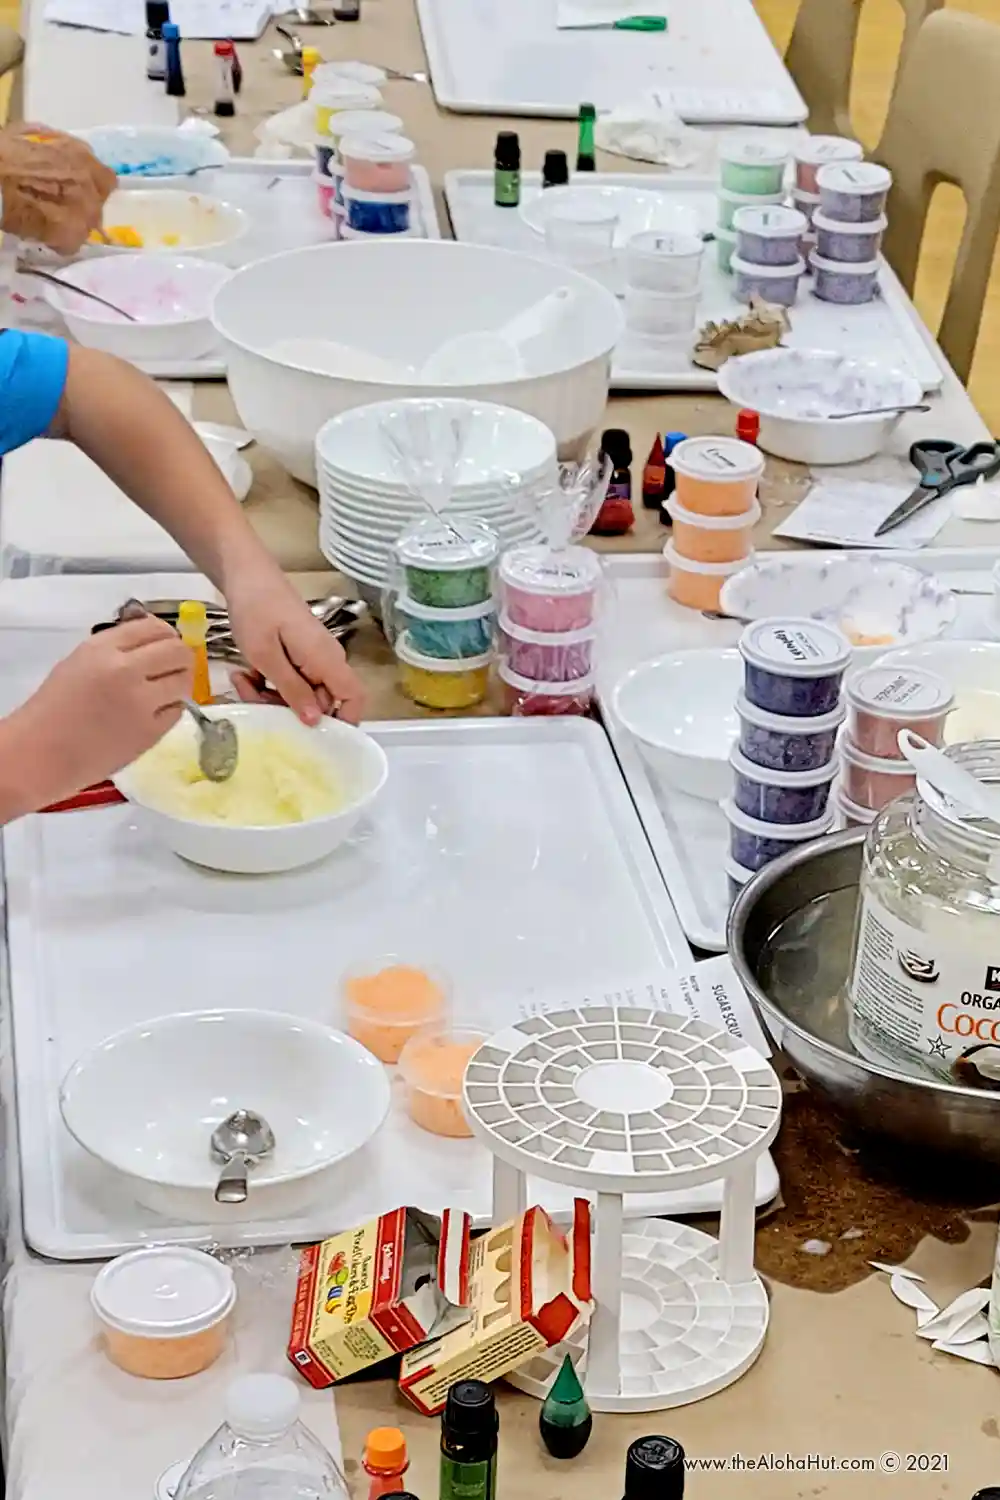

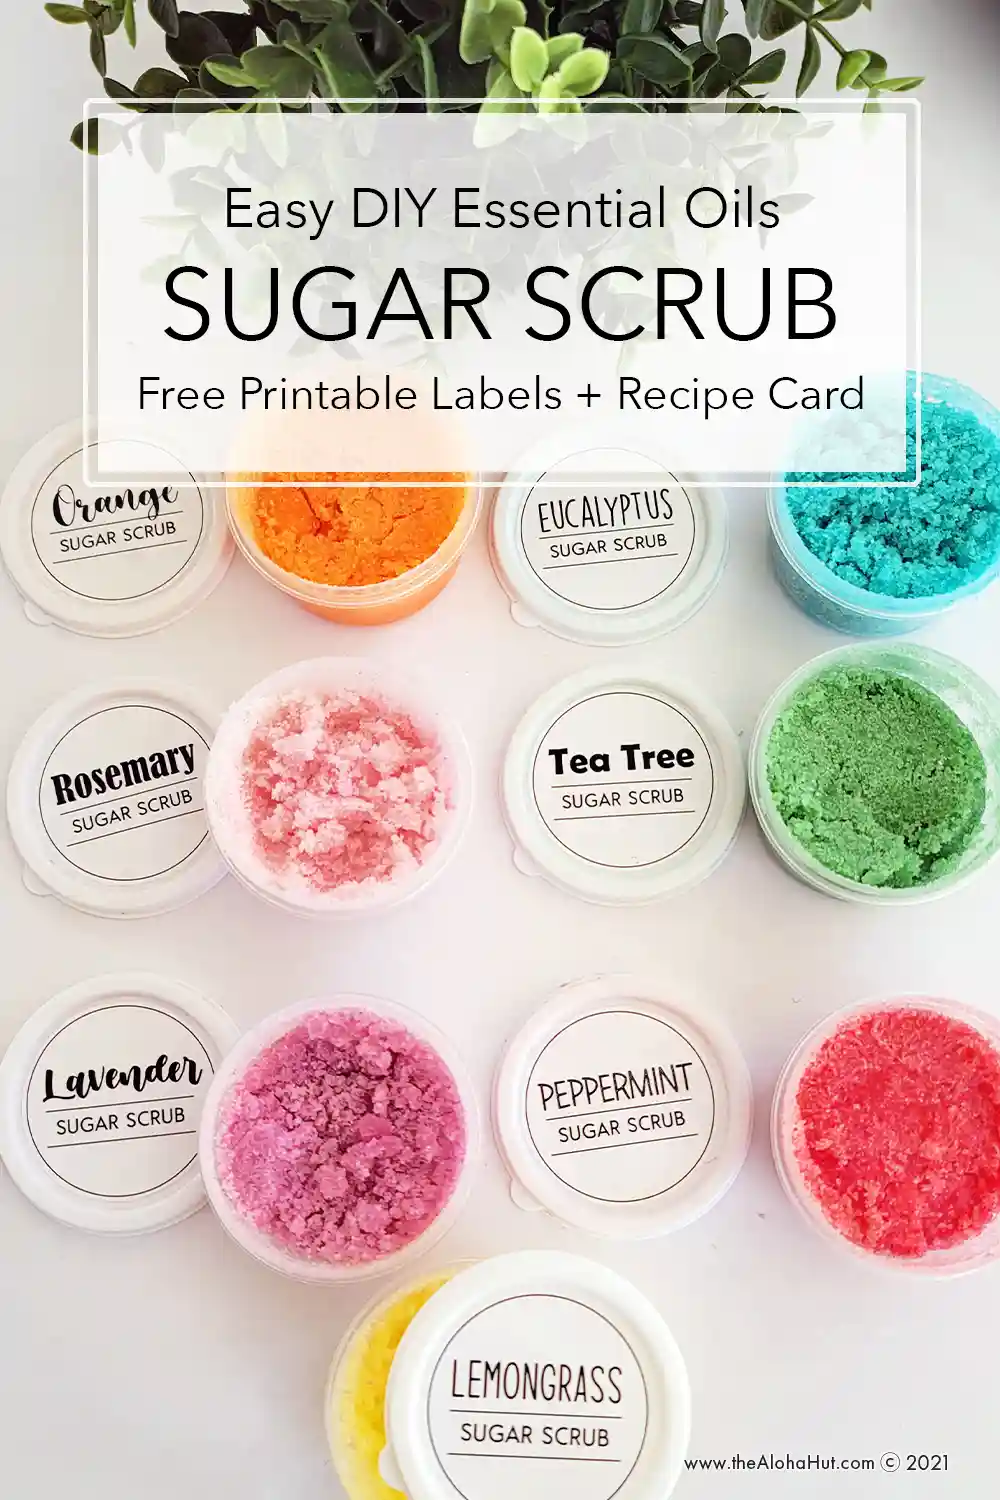
To make homemade sugar scrubs you only need a few ingredients — coconut oil, cane sugar, and essential oils of your choice. We love adding essential oils for the aromatherapy and natural health benefits. Our favorite sugar scrub essential oils are:
You can download our go-to sugar scrub recipe card below, complete with step by step instructions. If you’re going to make sugar scrubs for a girls night, Super Saturday activity, Primary activity or Young Women’s activity we’d suggest printing out the instructions for each person to reference. It will help your activity run a lot smoother.
We made our sugar scrubs into cute little gift packs. We used plastic mini containers from the dollar store and packaged them in a three pack variety of essential oils. You can also order a similar container from Amazon or use these condiment containers. You could put your sugar scrubs in a mason jar, but we opted for small plastic containers because we didn’t want the possibility of jars shattering when or if they were used in the shower.
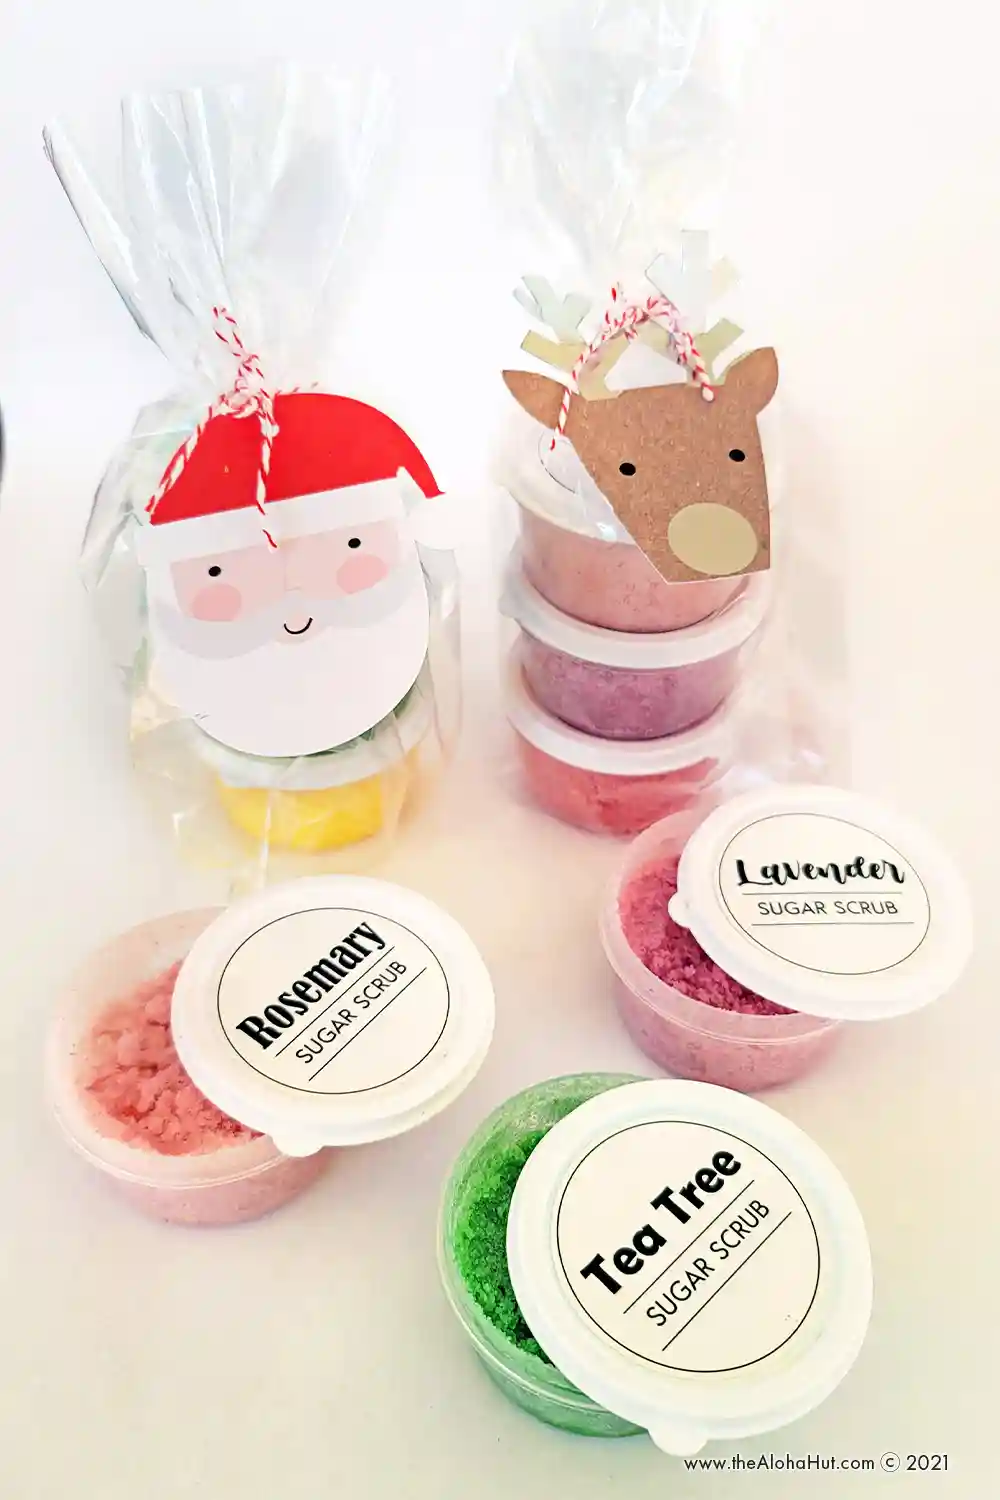
If you’re going to separate your sugar scrub into three small containers like we did, add your essential oils to your sugar scrub after you’ve separated them into three equal parts. The recipe calls for 8-10 drops of essential oils for a regular batch, but if you separate it into three equal parts lessen the amount of drops per container. We’d suggest adding 3-4 drops per small container.
Take your homemade sugar scrubs up a notch by adding our simple and modern sugar scrub labels. Download the free sugar scrub labels below and print on a full sheet of label paper or peel ‘n stick paper. Cut them out and add to your containers.
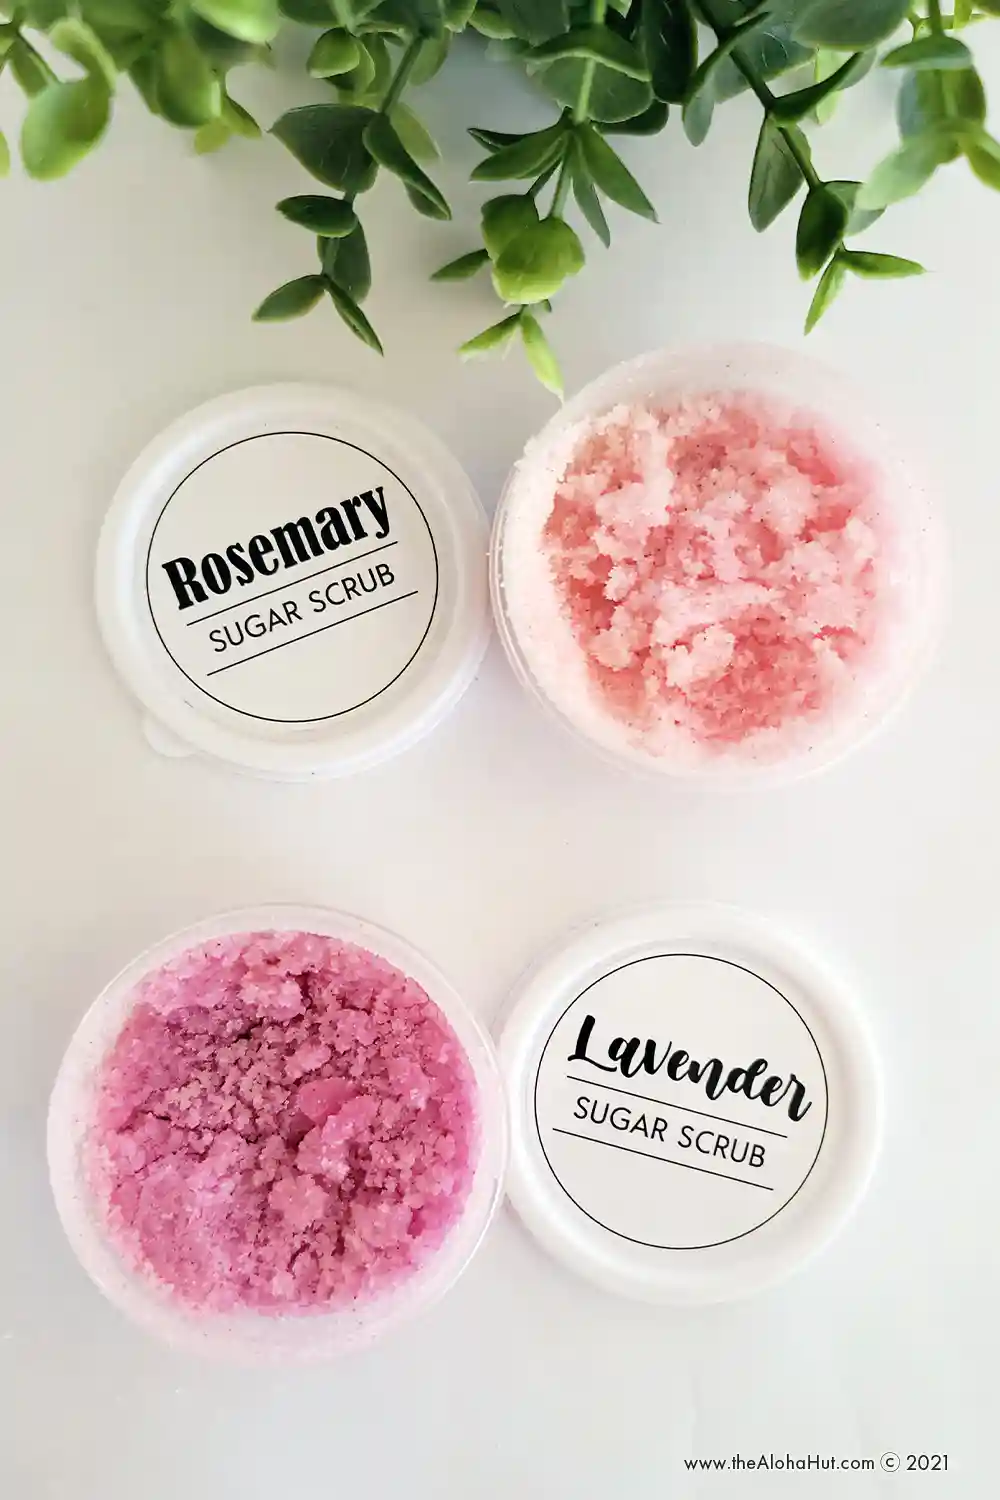
We opted to color our sugar scrubs so we could easily tell them apart. This is completely optional. Just remember a little goes a long way, so start with a tiny drop of food coloring and add until you get the desired color. We didn’t have any issues with the food coloring staining our skin when using the sugar scrub. Don’t add too much and you should be just fine.
Store your sugar scrub at room temperature for easy spreading. If it gets cold and hardens, just warm it slightly by running it under warm water. If you don’t contaminate your sugar scrubs when using them, they can last for 2-3 months. In the fridge, they’d be good for up to 6 months.
Download our recipe card and labels below for your next Super Saturday activity or craft night with the girls. Then package them up for the perfect gift for friends, family, neighbors, and your teacher.
Much aloha,
Stacey and Niki
